Xcode 6 interface builder
In the previous part we started building the [interface for our iOS Trailers app]. In this part we will go ahead and create custom UITableviewCells using Xcode 6 interface builder
UITableViewCell Customization using Xib
In our app the table view contains two different type of cells. One with just 2 labels and the other one with segment control and a single label. The best part of designing the xib is you can create multiple custom UITableViewCells and register with the tableview . And depending on the type of cells you ask for in the cellForRowAtIndexPath we get the corresponding instance of UITableViewCell which can be pretty useful for providing custom look for your app.
Let go ahead and create the initial TableViewCell.swift class which will just hold a simple UILabel for the movie name and another UILable for the description.
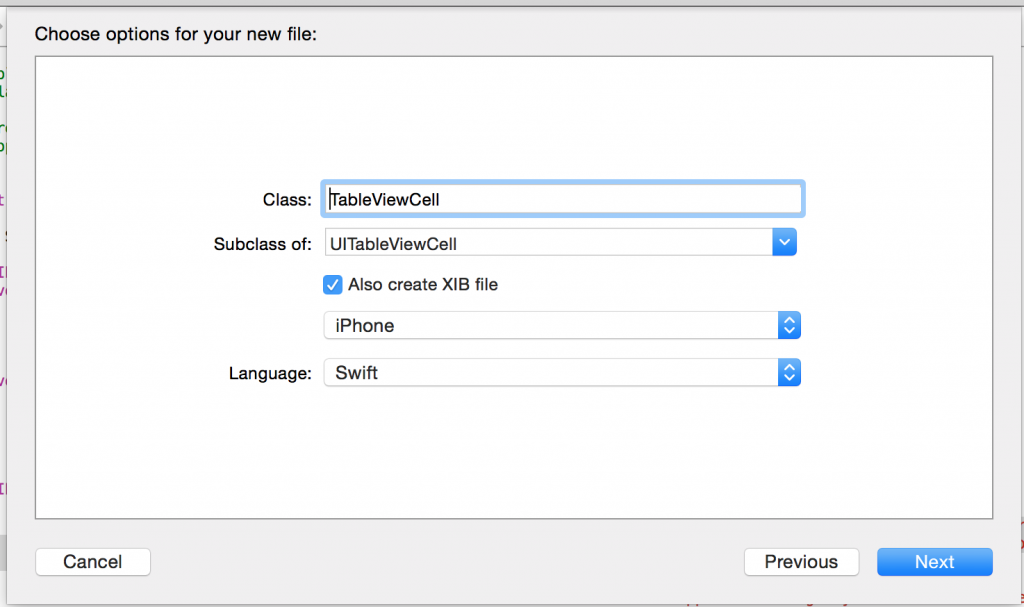
Go ahead and create a new file which which subclasses UITableViewCell and also click on the create xib file.
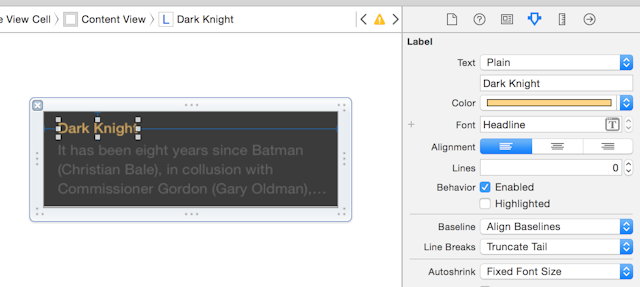
Now once you have the opened the TableViewCell.xib and drag 2 UILabel. One for the name and the other for the description. (Feel free to change the background color as you want). The cell should look something like this now.
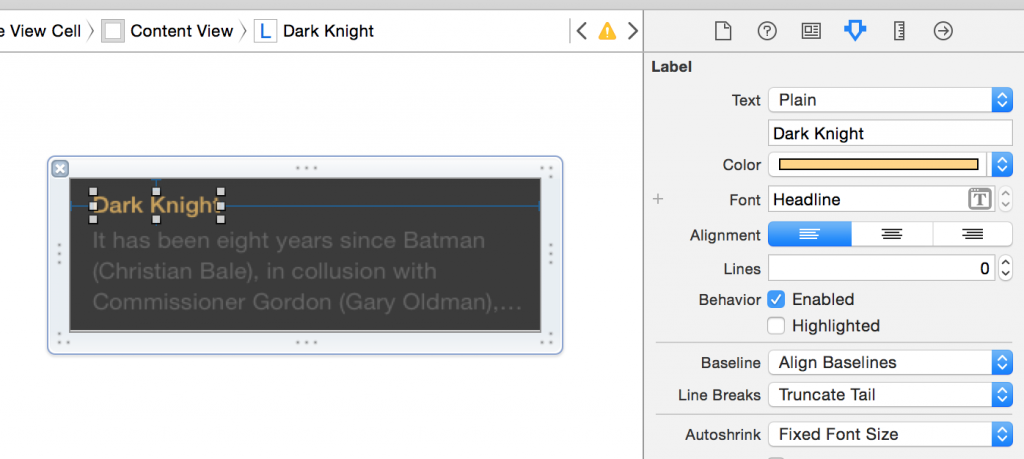

Once we have laid out the UILabel in the correct place. CTRL+DRAG from the UILabel and create IBOutlets for these labels and call them movieName and movieText respectively.
import UIKit
class TableViewCell: UITableViewCell {

    @IBOutlet weak var movieName: UILabel!
    @IBOutlet weak var movieText: UILabel!
    override func awakeFromNib() {
        super.awakeFromNib()
        self.movieText.preferredMaxLayoutWidth = self.movieText.frame.size.width
        self.movieName.preferredMaxLayoutWidth = self.movieName.frame.size.width
    }

    override func setSelected(selected: Bool, animated: Bool) {
        super.setSelected(selected, animated: animated)
    }

}
Once we have the first custom UITableViewCell we can go ahead and create the second type of UITableViewCell and call it splitCell ( also don't forget to click on the create xib checkmark)
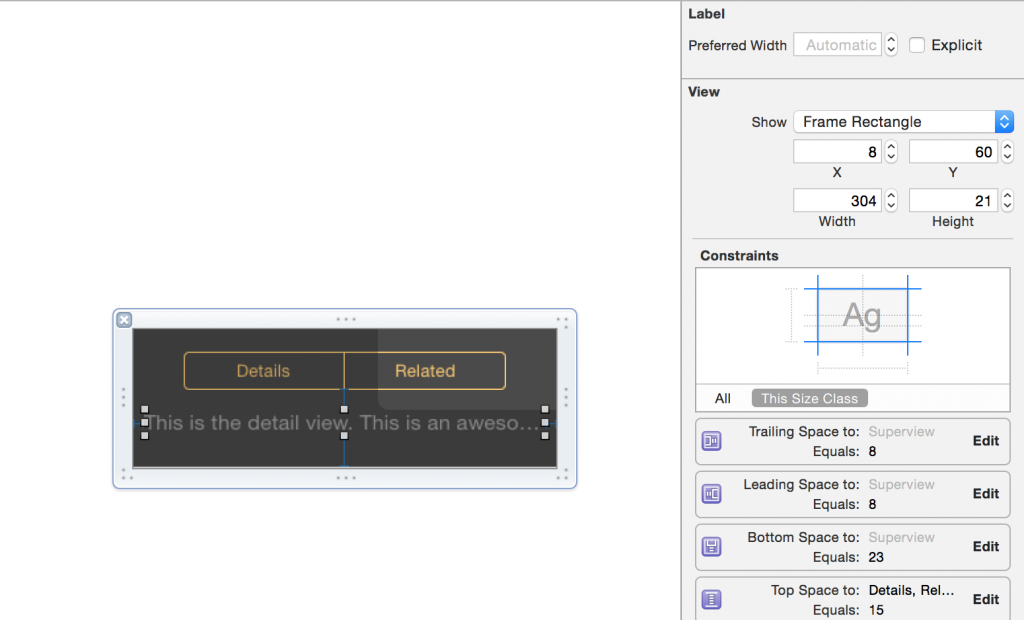
Create an IBOutlet for the text and call it mainText. CTRL+DRAG from the segmented control and create an IBAction this time and call it controlChanged .
import UIKit

class SplitCell: UITableViewCell {

    @IBOutlet weak var mainText: UILabel!
    override func awakeFromNib() {
        super.awakeFromNib()
        self.mainText.preferredMaxLayoutWidth = self.mainText.frame.size.width
    }

    override func setSelected(selected: Bool, animated: Bool) {
        super.setSelected(selected, animated: animated)

    }

    @IBAction func controlChanged(sender: UISegmentedControl) {
        if(sender.selectedSegmentIndex == 0){
            self.mainText.text = "This is the detail view. This is an awesome app control.Eight years after the Joker's reign of anarchy, the Dark Knight is forced to return from his imposed exile to save Gotham City from the brutal guerrilla terrorist Bane with the help of the enigmatic "
        } else {
            self.mainText.text = "This is the related view. This is an awesome app control.Eight years after the Joker's reign of anarchy, the Dark Knight is forced to return from his imposed exile to save Gotham City from the brutal guerrilla terrorist Bane with the help of the enigmatic "
        }
    }
}
In viewDidLoad we do something funky for setting up the preferredMaxLayoutWidth that is just to make sure that autolayout behaves properly in our app. Sometime it does work and sometime it doesn't when it doesn't try setting the preferredMaxLayoutWidth
Now that we have designed both our cells lets go back to the ViewController which loads the main app and the UITableView.
So for our app we can have a single section and 2 rows. And depending on the row index we can instantiate necessary custom UITableViewCell.
//
//  ViewController.swift
//  Playground
//
//  Created by Shrikar Archak on 5/13/15.
//  Copyright (c) 2015 Shrikar Archak. All rights reserved.
//
import UIKit

class ViewController: UIViewController, UITableViewDataSource, UITableViewDelegate {

    @IBOutlet weak var tableView: UITableView!

    override func viewDidLoad() {
        super.viewDidLoad()
        self.tableView.dataSource = self
        self.tableView.delegate = self
        self.title = "Trailers"
        self.tableView.backgroundColor = UIColor(red: 8.0/255, green: 10.0/255, blue: 15.0/255, alpha: 1)
        self.tableView.registerNib(UINib(nibName: "TableViewCell", bundle: nil), forCellReuseIdentifier: "Cell")
        self.tableView.registerNib(UINib(nibName: "SplitCell", bundle: nil), forCellReuseIdentifier: "SplitCell")
        self.tableView.estimatedRowHeight = 50
        self.tableView.rowHeight = UITableViewAutomaticDimension
    }

    override func didReceiveMemoryWarning() {
        super.didReceiveMemoryWarning()

    }

    func numberOfSectionsInTableView(tableView: UITableView) -> Int {
        return 1
    }

    func tableView(tableView: UITableView, numberOfRowsInSection section: Int) -> Int {
        return 2
    }

    func tableView(tableView: UITableView, cellForRowAtIndexPath indexPath: NSIndexPath) -> UITableViewCell {
        if(indexPath.row == 1){
            let cell = tableView.dequeueReusableCellWithIdentifier("SplitCell") as! SplitCell
            return cell
        }
        let cell = tableView.dequeueReusableCellWithIdentifier("Cell") as! TableViewCell
        return cell;
    }

    func tableView(tableView: UITableView, willDisplayCell cell: UITableViewCell, forRowAtIndexPath indexPath: NSIndexPath) {
        cell.separatorInset = UIEdgeInsetsZero
        cell.preservesSuperviewLayoutMargins = false
        cell.layoutMargins = UIEdgeInsetsZero
    }

}
If you comment out the code in the willDisplayCell and run the app you can find that the UITableViewCell seperator don't extend till the edge and it can look pretty bad when we have dark background. So to fix that we need to set the insets,superviewlayout margins and layout margins as described in the code above.
If you find your self dealing with the problem of UILabels getting truncated or the UITableViewCell not expanding. Then make sure you have the autolayout constraints, rowHeight and the estimatedRowHeight set properly.