UIStackViews and Autolayout in iOS9
In this part of the Music Streaming app we will learn how to use the latest UIStackview in combination with Autolayout to build our tableviews. In the previous post we saw how to [model the MusicTrack Objects]
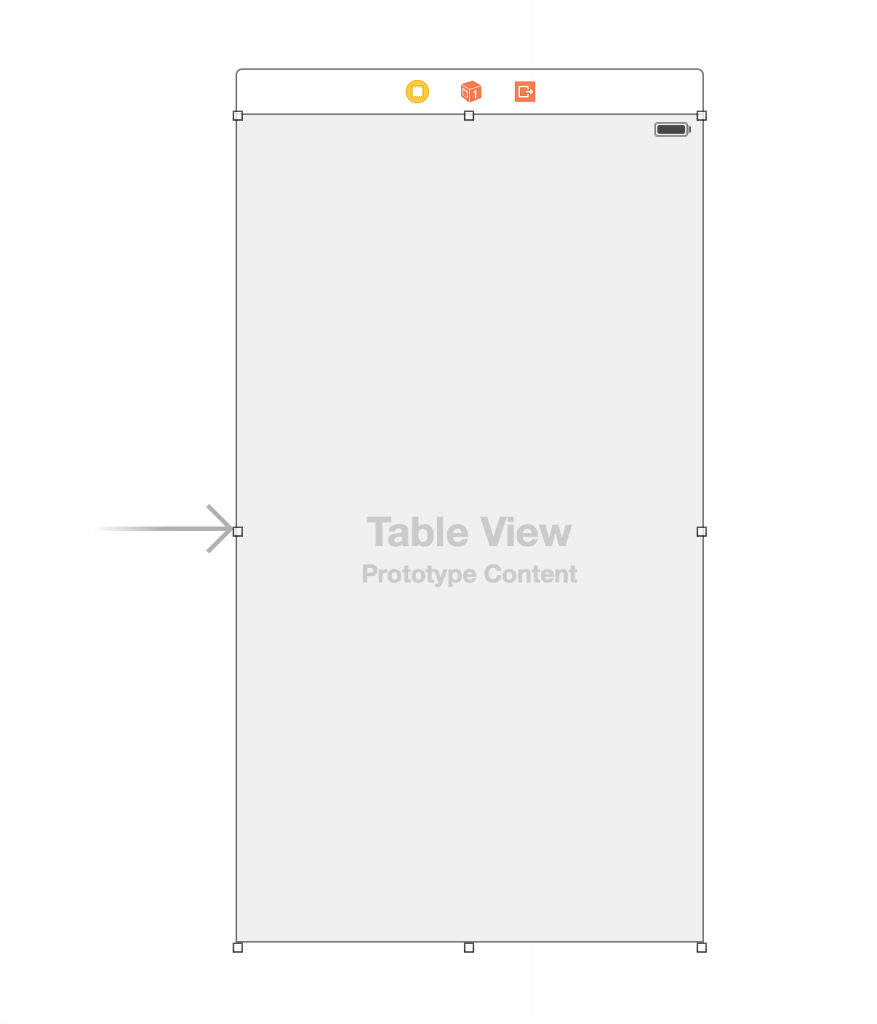
To begin with drag a UIViewController and then a tableview on top of that select the uitableview and set the autolayout constraints to 0 on all sides.
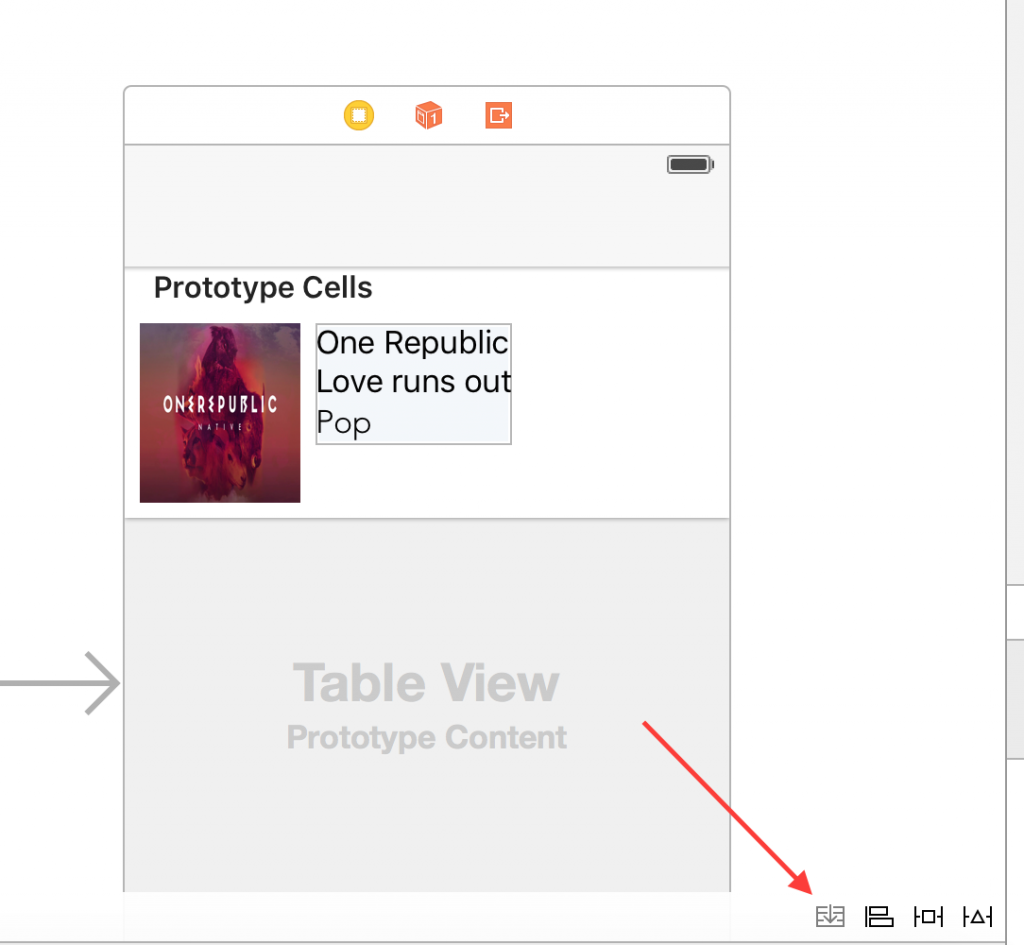
Next go ahead and drag a UITableViewCell on top of the uitableview from the object library. Now we will go ahead and start customizing the UITableViewCell.
Next step would be to drag a UIImageView and 3 label next to it. Select all the label and click the new icon at the bottom right of the interface builder for embedding in UIStackView.
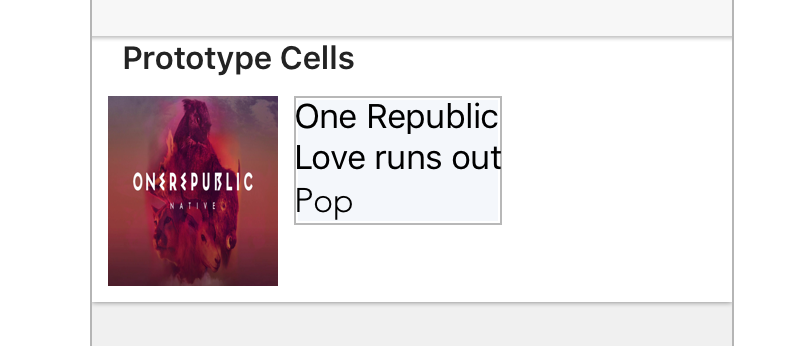
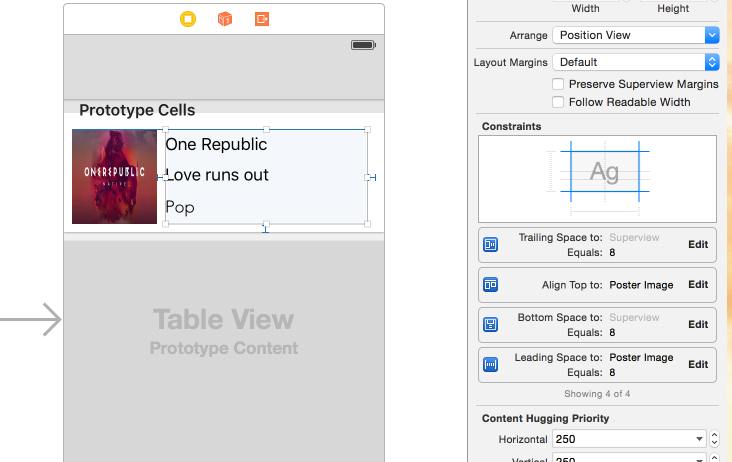
The layout should look like this
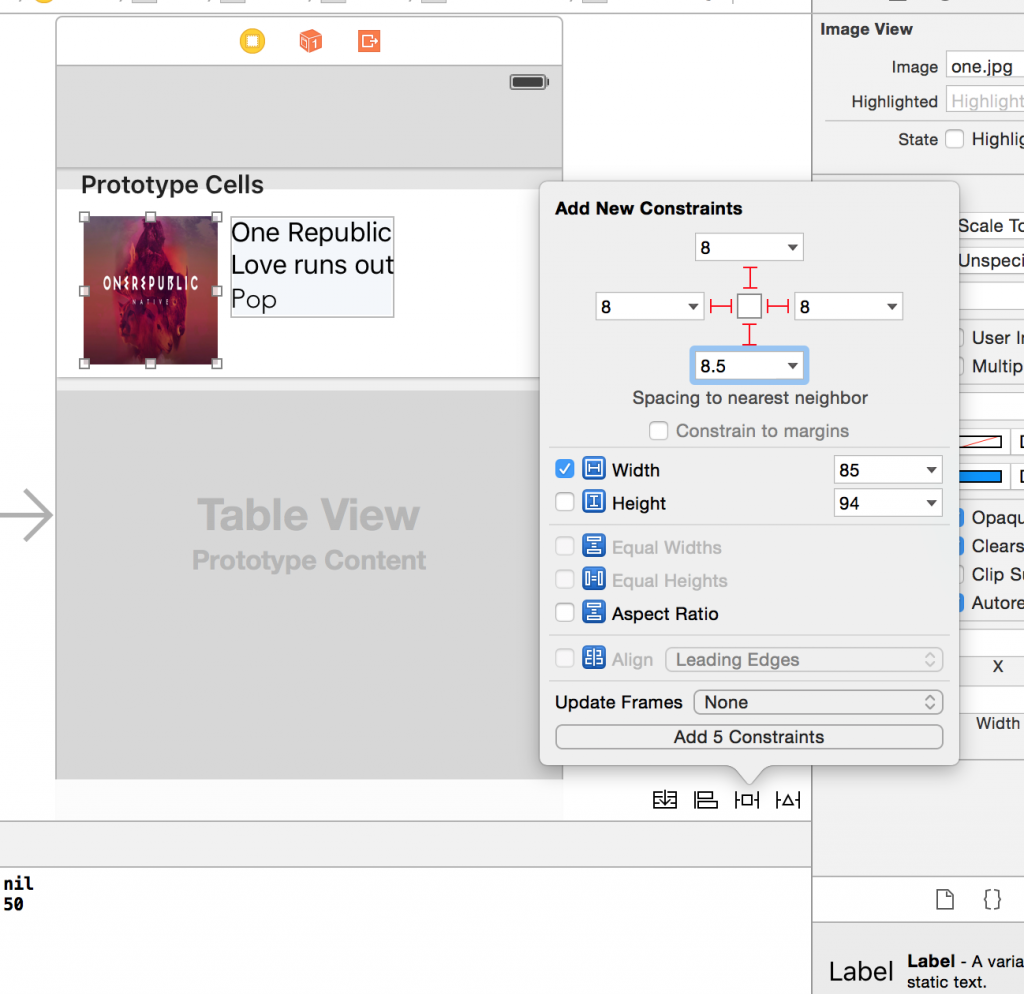
Next select the UIStackView and lets provide the necessary constraint for the UIStackView as shown below. The Align Top to posterimage will be added in the next step. Select the Attributes inspector and change the Align to fill and the distribution to Fill proportionally.
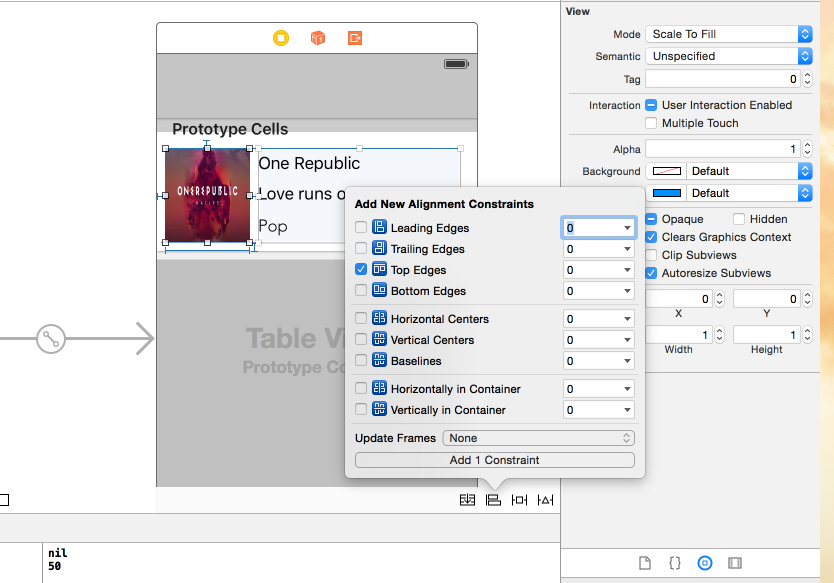
Select the UIStackView and UIImageview and align the top baseline
 Now that we have the autolayout constraints set properly we will now create a custom UITableViewCell and create IBOutlets for all the labels and the UIImageView. Create a new File MusicCell.swift which subclasses UITableViewCell. Select the cell on the UITableView -> go to identity inspector and change the class to MusicCell also set the cellIdentifier to "musicCell". Now open up the assitant editor and create IBOutlets by CTRL+DRAG 'ing from the UIElements to the MusicCell.swift file.
//
//  MusicCell.swift
//  MusicApp
//
//  Created by Shrikar Archak on 6/19/15.
//  Copyright © 2015 Shrikar Archak. All rights reserved.
//

import UIKit

class MusicCell: UITableViewCell {

    @IBOutlet weak var posterImage: UIImageView!
    @IBOutlet weak var artistName: UILabel!
    @IBOutlet weak var trackName: UILabel!
    @IBOutlet weak var genre: UILabel!
    override func awakeFromNib() {
        super.awakeFromNib()
    }

    override func setSelected(selected: Bool, animated: Bool) {
        super.setSelected(selected, animated: animated)
    }

}
Similarly lets go ahead and create a ListViewController.swift which subclasses UIViewController class.
- Go to the identity inspector and change the class to ListViewController.
- Select the UIViewController which contains the uitableview -> go to editor -> embed in navigation controller.
- ListViewController should implement two main protocols UITableViewDataSource and UITableViewDelegate
- In viewDidLoad set the delegate and datasource to self.
- Also lets set the rowHeight to UITableViewAutomaticDimension which will help in resizing the cells automatically.
- Implement the numberOfSectionsInTableView which in our case for the sake of simplicity will be 1.
- The numberOfRowsInSection will either return 0 when we are in the process of loading data from the server or the musicTracks.count when the data is loaded.
- Finally in cellForRowAtIndexPath will take the musicTrack at that row and display it in the cell.
The code should look something like this.
//  ListViewController.swift
//  MusicApp
//
//  Created by Shrikar Archak on 6/18/15.
//  Copyright © 2015 Shrikar Archak. All rights reserved.
//

import UIKit

class ListViewController: UIViewController, UITableViewDataSource, UITableViewDelegate {

    @IBOutlet weak var tableView: UITableView!
    let musicManager = MusicManager()
    var musicTracks: \[MusicTrack\]!
    override func viewDidLoad() {
        super.viewDidLoad()
        self.tableView.dataSource = self
        self.tableView.delegate = self
        self.tableView.rowHeight = UITableViewAutomaticDimension
        self.tableView.estimatedRowHeight = 100
        musicManager.getMusicTracks { (results) -> Void in
            self.musicTracks = results
            self.tableView.reloadData()
        }
    }

    override func didReceiveMemoryWarning() {
        super.didReceiveMemoryWarning()
    }

    func numberOfSectionsInTableView(tableView: UITableView) -> Int {
        return 1
    }

    func tableView(tableView: UITableView, numberOfRowsInSection section: Int) -> Int {
        if(musicTracks != nil){
            return musicTracks.count
        }
        return 0
    }

    func tableView(tableView: UITableView, cellForRowAtIndexPath indexPath: NSIndexPath) -> UITableViewCell {
        let cell: MusicCell = self.tableView.dequeueReusableCellWithIdentifier("musicCell") as! MusicCell
        cell.posterImage.image = nil
        let mTrack = self.musicTracks\[indexPath.row\]
        let imagedata = NSData(contentsOfURL: NSURL(string: mTrack.thumbnail)!)
        if let tmpdata = imagedata {
            cell.posterImage.image = UIImage(data: tmpdata)
        }
        cell.artistName.text = mTrack.artistName
        cell.trackName.text = mTrack.trackName
        return cell
    }

}
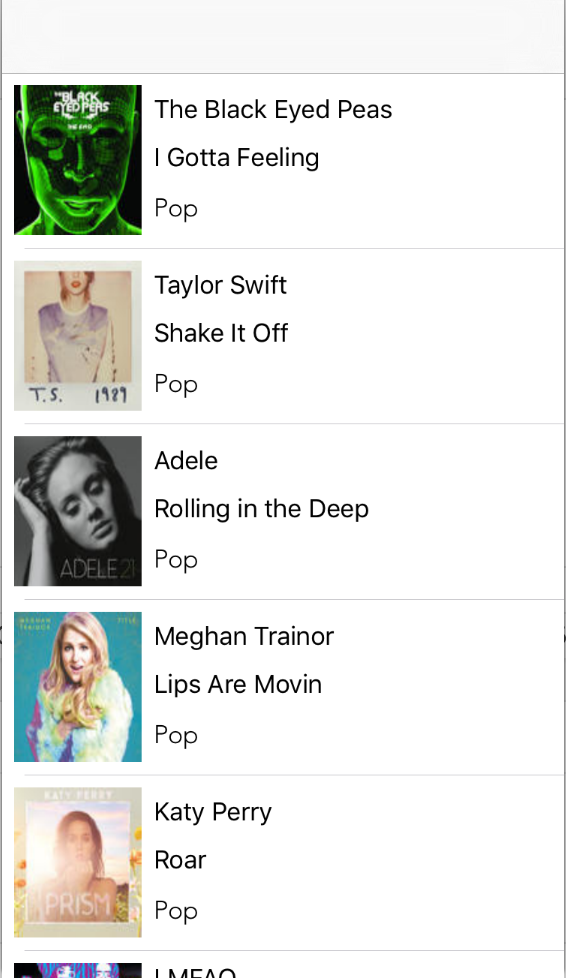
Go ahead and run the app.It should look something like this
In the next part we will learn about creating a